Table of Contents
Common Layouts
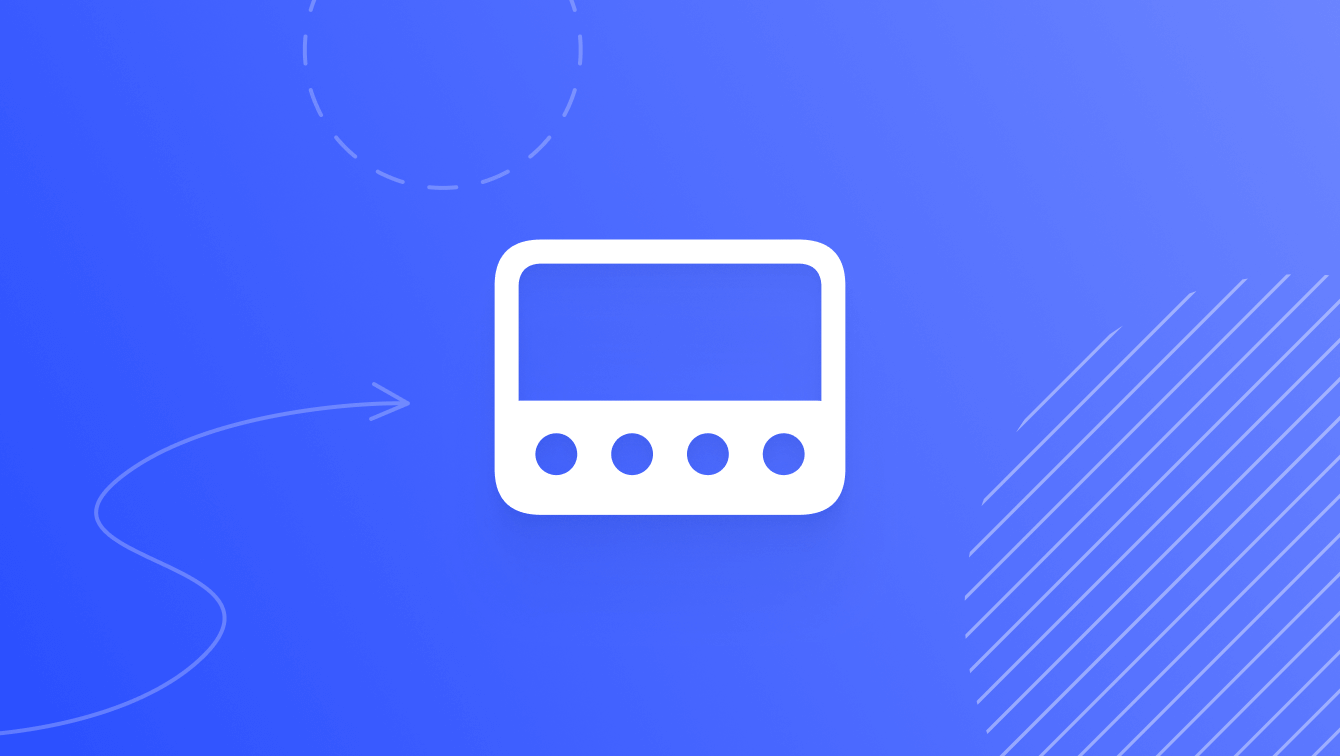
How to Build an App with a Tab Bar
When building an app with a tab bar in SwiftU, developers start by placing screens in a <code>TabView</code> and then add the <code>tabItem(_:)</code> modifier to each screen to customize the text and icon displayed for each tab. You’ll find that the process is similar in Judo.
1. Create a Main screen
The Main screen will act as a container that houses all of the primary screens of your app.
Click the Insert + button and choose New Component under the Components section. From the Layers panel, rename your component to “Main”.
2. Add a Tab View layer to your Main screen
The Tab View layer creates a tab bar at the bottom, which is a mechanism for switching between the primary sections of your app.
With your Main screen selected in the Layers panel, click the Insert + button to add a Tab View container.
3. Create the primary screens of your app
We’re going to create 3 tabs, but you can build as many as you need. However, note that Apple recommends that you build no more than 5 tabs.
Click the Insert + button to add a new component. From the Layers panel, rename your component so it corresponds with your tab. We’ll call our first primary screen “Home”.
With your new primary screen selected in the Layers panel, click the Insert + button to add a Text layer. From the Inspector panel, replace “Hello, World!” and click on the Return key to save.
Pro Tip
You can also add text by pressing the letter "t" on your keyboard. Just make sure you have the right component selected.
Repeat these steps to create each primary screen that you would like in your tab bar.
<hr>
Before we move forward, let’s take a look at the code that Judo generated for a couple of our primary screens.
At the moment, our code for each primary screen is identical because the content inside is the same. The code starts with a <code>struct</code>, which is short for “structure” and is used to define a separate view in your SwiftUI app. The view could be a screen or a section of a screen.
The variable <code>body</code> is a property used to store our content. In this case, we have a <code>Text</code> layer on each primary screen with a fixed order of characters. Text values, also called “strings”, are usually placed within double quotes. Strings are one of several data types that a variable can hold in SwiftUI.
<hr>
4. Insert primary screen instances
Since your Main screen acts as a container for all of your primary screens, you’ll need to insert an instance of each primary screen so that they appear in your tab bar.
With your Main screen’s Tab View layer selected in the Layers panel, click the Insert + button to add an instance of your primary screen from the Components section. Repeat for each screen.
<div class="callout note">
Note
In Judo, you can only see the first primary screen that appears under the Tab View layer of your Main screen. Try changing the order of your primary screens in the Layers panel and see what happens.
</div>
Pro Tip
An alternate way of creating instances from components is by selecting the component in the Judo canvas, copying it, and then pasting it into the Tab View layer of your Main screen in the Layers panel.
<hr>
Let’s take a look at what your Main screen looks like in SwiftUI.
The code will start with <code>struct</code> and the name of your Main screen. Then, inside the <code>body</code>, you’ll find the <code>TabView</code> container that you added, which houses all your tabs. In our case, we have a tab called Home, Discover, and Settings.
Remember how earlier we took a look at the code for each primary screen? In the <code>TabView</code> here, you’ve added instances of each one, so there’s no need to add the content inside each screen.
<hr>
5. Add a tab item to each primary screen
Although you’ve added all of your primary screens to your Main screen, nothing will appear in the tab bar until you’ve added a Tab Item modifier to each one.
From the Layers panel, select one of the primary screens in your Main screen. In the Inspector panel, add the Tab Item modifier and add a title and/or choose an icon. Repeat for each screen.
<div class="callout note">
Note
The tab bar will always display the fill variant of an SF symbol, so if you select <code>house</code>, for example, SwiftUI will automatically use <code>house.fill</code>.
</div>
Although you’ve customized the Tab Item modifier for each primary screen, your tab bar background will still be blank. As per Apple’s guidelines, the tab bar is initially translucent until you start scrolling.
<div class="callout app">
Run this on your phone to see your design in action.
The tab bar lets you switch between your primary screens. To preview this on your mobile device, make sure you have the Judo app installed and then send the file to your device.
</div>


Ask Our Community
If you have questions about the Judo editor, or developer questions about SDK integration, join the community and start a conversation!